How to use your phone as a webcam in remote meetings Last Updated 20 January 2023 by Michael Forrest
Shoot Pro Webcam lets you use your phone as a camera for meetings but there are many different ways you might want to set it up. Here’s a guide so you can pick the right method for you.
Shoot was originally designed for streaming software like OBS and Ecamm Live and the way it works means it’s not quite as easy to use in Zoom or Teams as a hardware webcam.
This means you’ll need to run another piece of software to create a “Virtual Camera” that can be recognised by Zoom, Teams, or anything that runs in a web browser such as Google Meet.
All of these guides assume you have installed Shoot Pro Webcam.
Important: FaceTime does not support virtual cameras so you will not be able to connect Shoot over USB if you need FaceTime support. You’ll need an HDMI adapter to use Shoot with FaceTime.
1. USB Connection (Mac Only)
I have created a special driver that you can install to use Shoot on your Mac with no additional configuration.
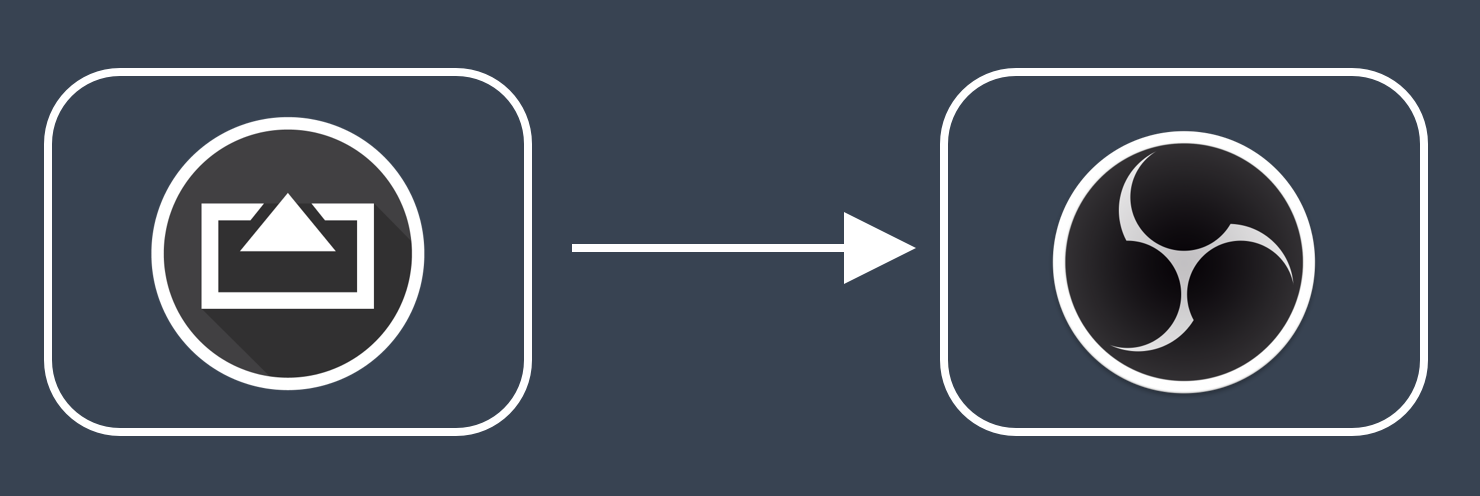
2. Free, better-featured method (OBS)
OBS is free and can create a Virtual Camera. Plug in your phone, launch Shoot and start OBS, add a new Video Capture Device and select your phone under Device.


You need to use the handles to resize the image to fill the display. Since your phone has a different aspect ratio to a normal 16:9 image, you’ll need to expand the mirrored image beyond the edges of the frame to fill the screen.
Next, click Start Virtual Camera and you’ll be able to see the “OBS Virtual Camera” appear within your meeting software settings. The first time you do it, you might need to restart something to install the OBS Virtual Camera but OBS should explain what to do.

3. If you prefer Ecamm Live
Ecamm requires a similar process. Start Shoot, plug in your phone and it will appear as a video source within Ecamm.
Now you can activate the virtual camera via the menu.

When connecting over USB the image will match your phone’s aspect ratio, meaning it will have a black border unless you crop in with the Zoom & Pan controls in Ecamm.
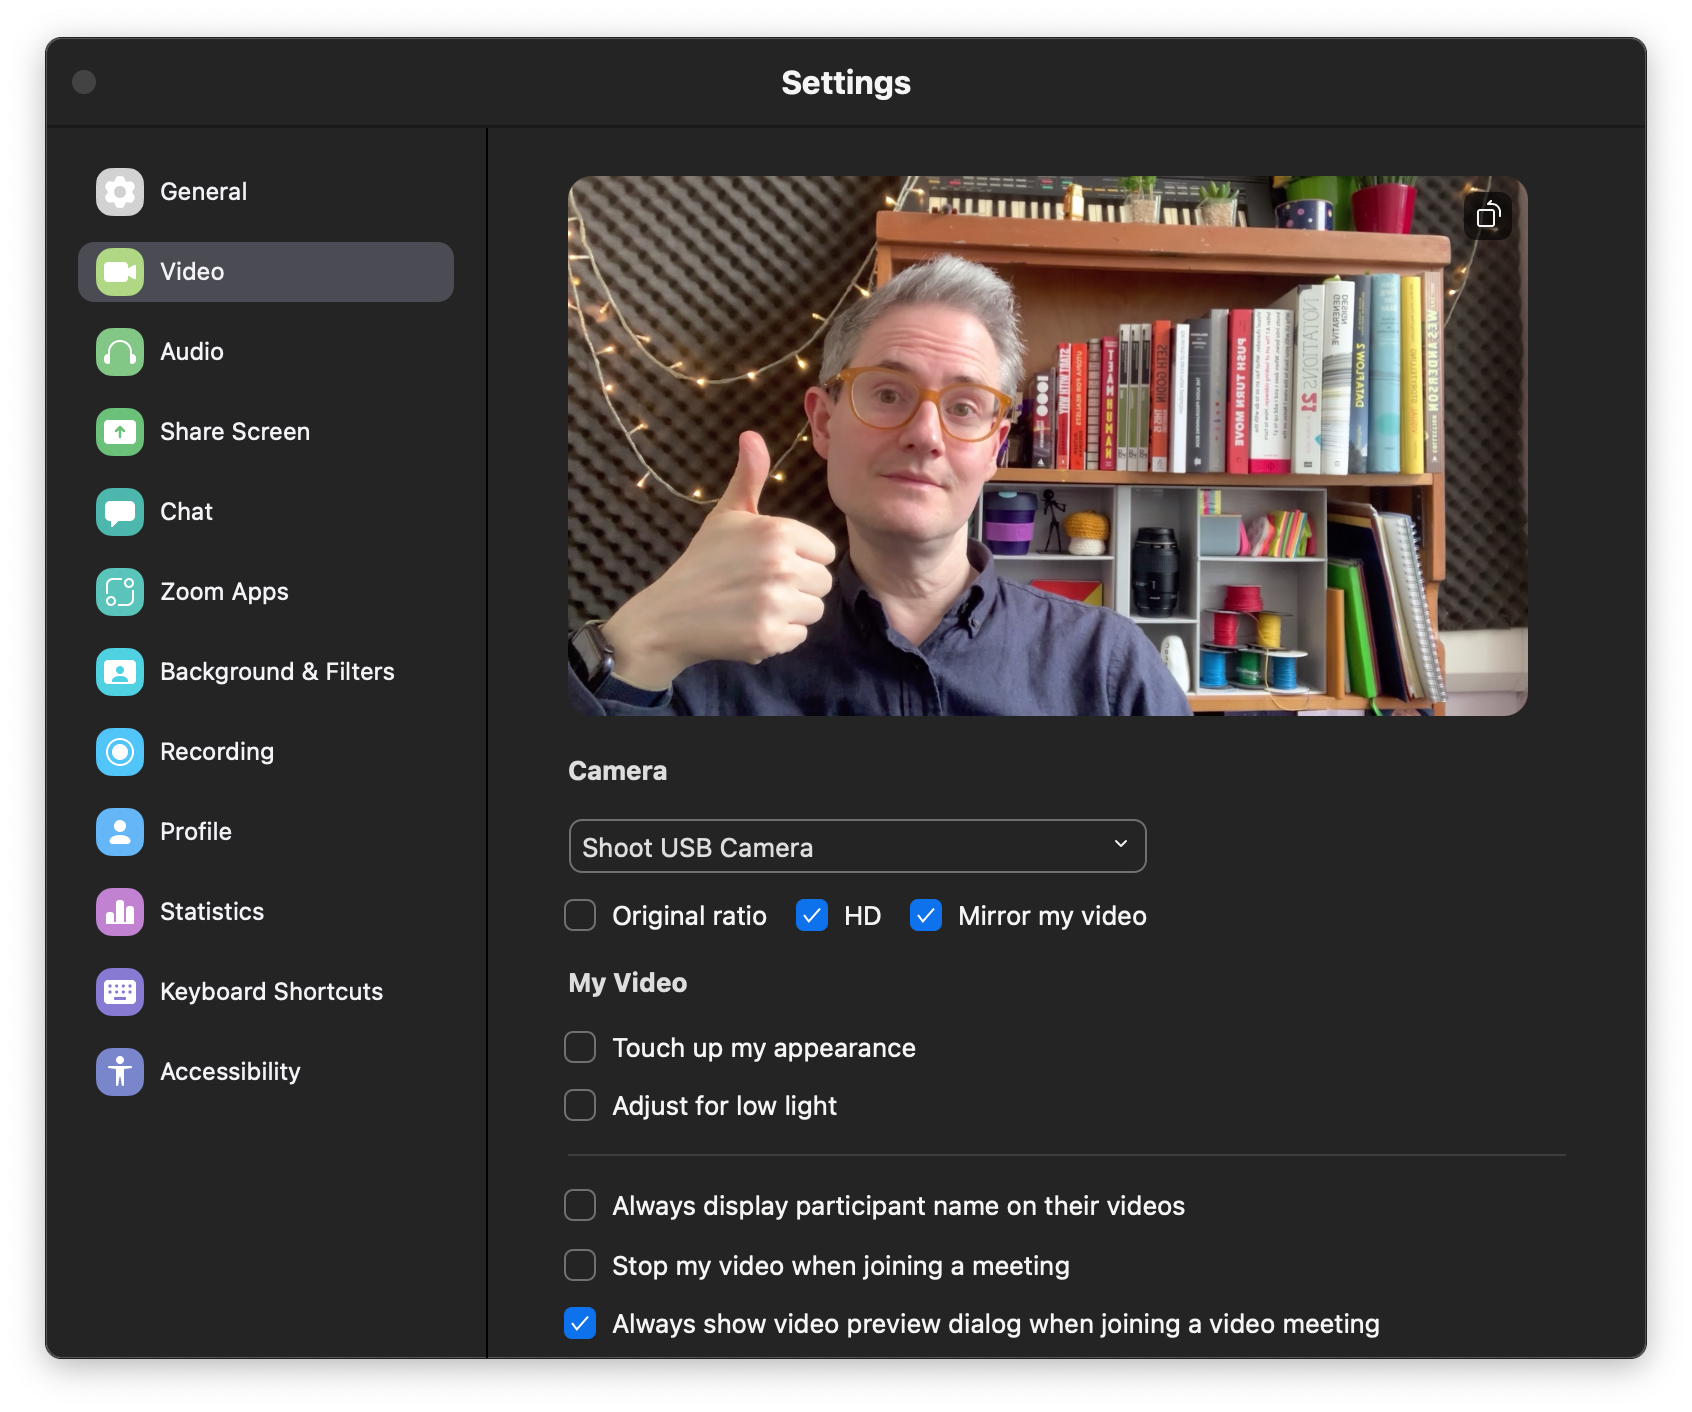
This virtual camera then appears in other apps like Zoom or Meet.
4. Connecting Wirelessly (Mac / PC)
AirServer allows you mirror your device to your computer. Once you have installed it, you can use Control Center on your phone to mirror your screen to your computer (mine is called “MF” on the video below).
On a Mac, AirServer creates a Syphon feed, meaning that other apps can easily receive its video stream.
In Ecamm you will see AirServer as a video source like any other camera.
On OBS you’ll need to a Syphon Client.


Now just start your virtual camera and it will show up in your meeting software.
5. Connecting with HDMI (Mac / PC)
Using an HDMI adapter is a bit more expensive but it’s much easier.
You’ll need extra hardware to connect the HDMI output from the adapter into your computer. This can cost anything from $15 to hundreds of dollars, depending on what features you want.
- Cheapest dongle - these die regularly so you might need to buy spares!
- Camlink - a more reliable dongle
- Atem Mini - popular multi-source switcher
These dongles will show up on your computer as a normal webcam and will be available in any meeting software (including FaceTime) with no further steps.


)